
Day 1 of Christmas In July
Hosted By Cowgirl Up!

Hey Y'all! Welcome to the first annual Christmas In July hosted by Cowgirl Up! Thanks so much for joining us! You can stop by our blogs every day for eight days and check on some jaw droppin', eyebrow raisin' Christmas inspiration. Here is the schedule:

Feel free to check out all of the blogs! Here are the links
Howdy, I am Amanda @ The Ivy Cottage Blog!

A little
bit about me before we get to the really fun stuff . . .
I am a
wife,
a mom of
two,
an avid
crafter
and lover
of all things vintage.
I have a
weakness for books, chocolate donuts, and glitter.
Besides
my full-time of job of chasing two kiddos, I also run a wedding decor design
business called High Fire
Designs.
Now, on with the show!
Instagram Ribbon Spool Ornament

Materials:
Empty ribbon spool
Computer and printer
Instagram photos
Glue
Glitter
Ribbon
Scissors
I am a recent convert to the world of Instagram. Love snapping pictures of my kiddos and sharing them on Facebook. I thought it would be great to incorporate them in an ornament for this Christmas season.
I used a free photo editing program called Picasa to work on my photo layout. Here is how I did it:
Step #1: Upload your photos to Picasa and put your selected six photos into one folder. Once in a folder select the "Collage" button.

Step #2: Select the grid setting for the photos. Go down to the Page Format section and select Add Custom Ratio . . . make a custom ratio that is 1.5 X 9.5 inches. This should line up all of your photos from top to bottom. If you want to line them up so that they are side by side, just switch to 9.5 X 1.5 inches. Save/Create the collage.

Step #3: Once you are back to the regular Picasa screen, change the photo to Black and White. Save the image.

Step #4: If you want, you can also add the customization of CinemaScope, which adds a cool effect for the side by side layout. This is not a required step.

Step #5: Print out your image on white card stock and trim your image.
Step #6: Take your old ribbon spool and remove the two sides. I just ripped mine off and then used a little bit of sandpaper to smooth the edges.


Step #7: Line the inside of your spool with your favorite ribbon or paint. In this case, I used red burlap ribbon that I cut to size. I used hot glue to secure it into place.

Step #8: Using hot glue, place a thin horizontal line of glue across the spool and then press down one end of the photo strip being sure that it is lined up.

Step #9: Once the glue is dried, wrap the photo strip around the spool and secure the other end with glue. Mine was slightly short, but I have a plan to cover it up!

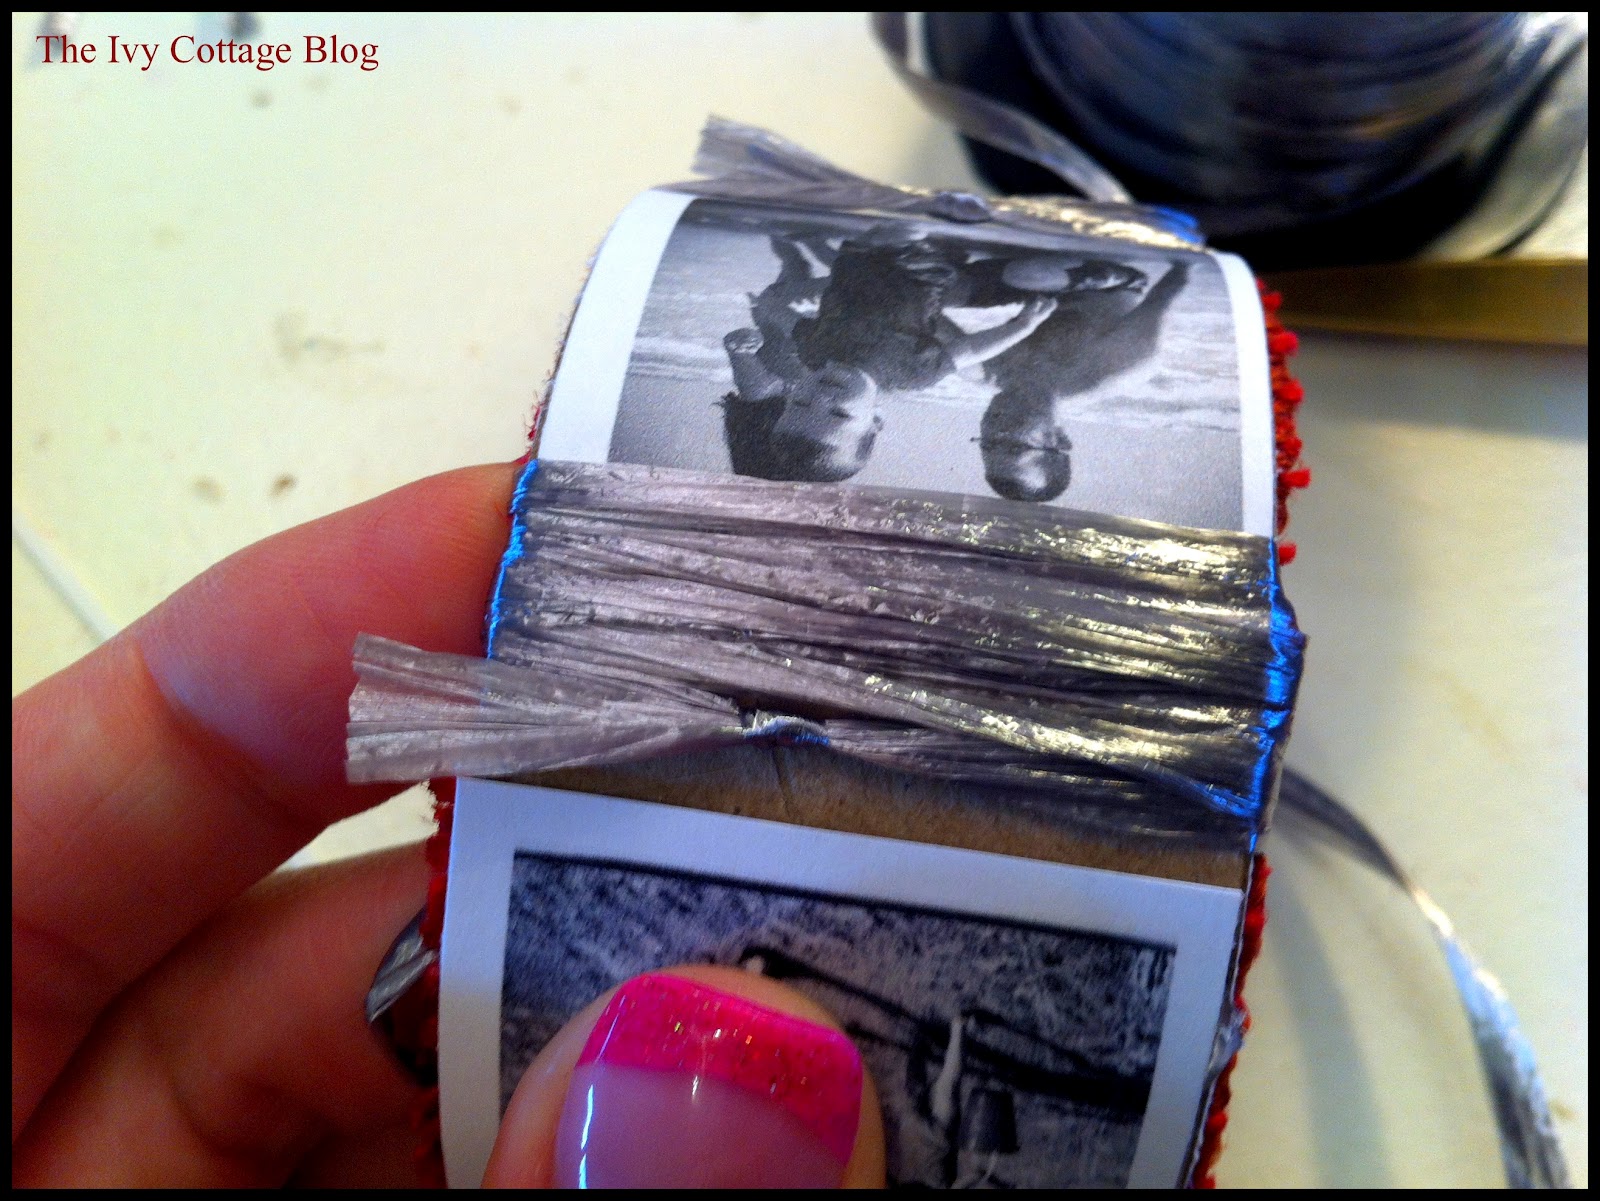
Step #10: Embellish your ornament! I used metallic raffia to accent the space in between each of the photos.
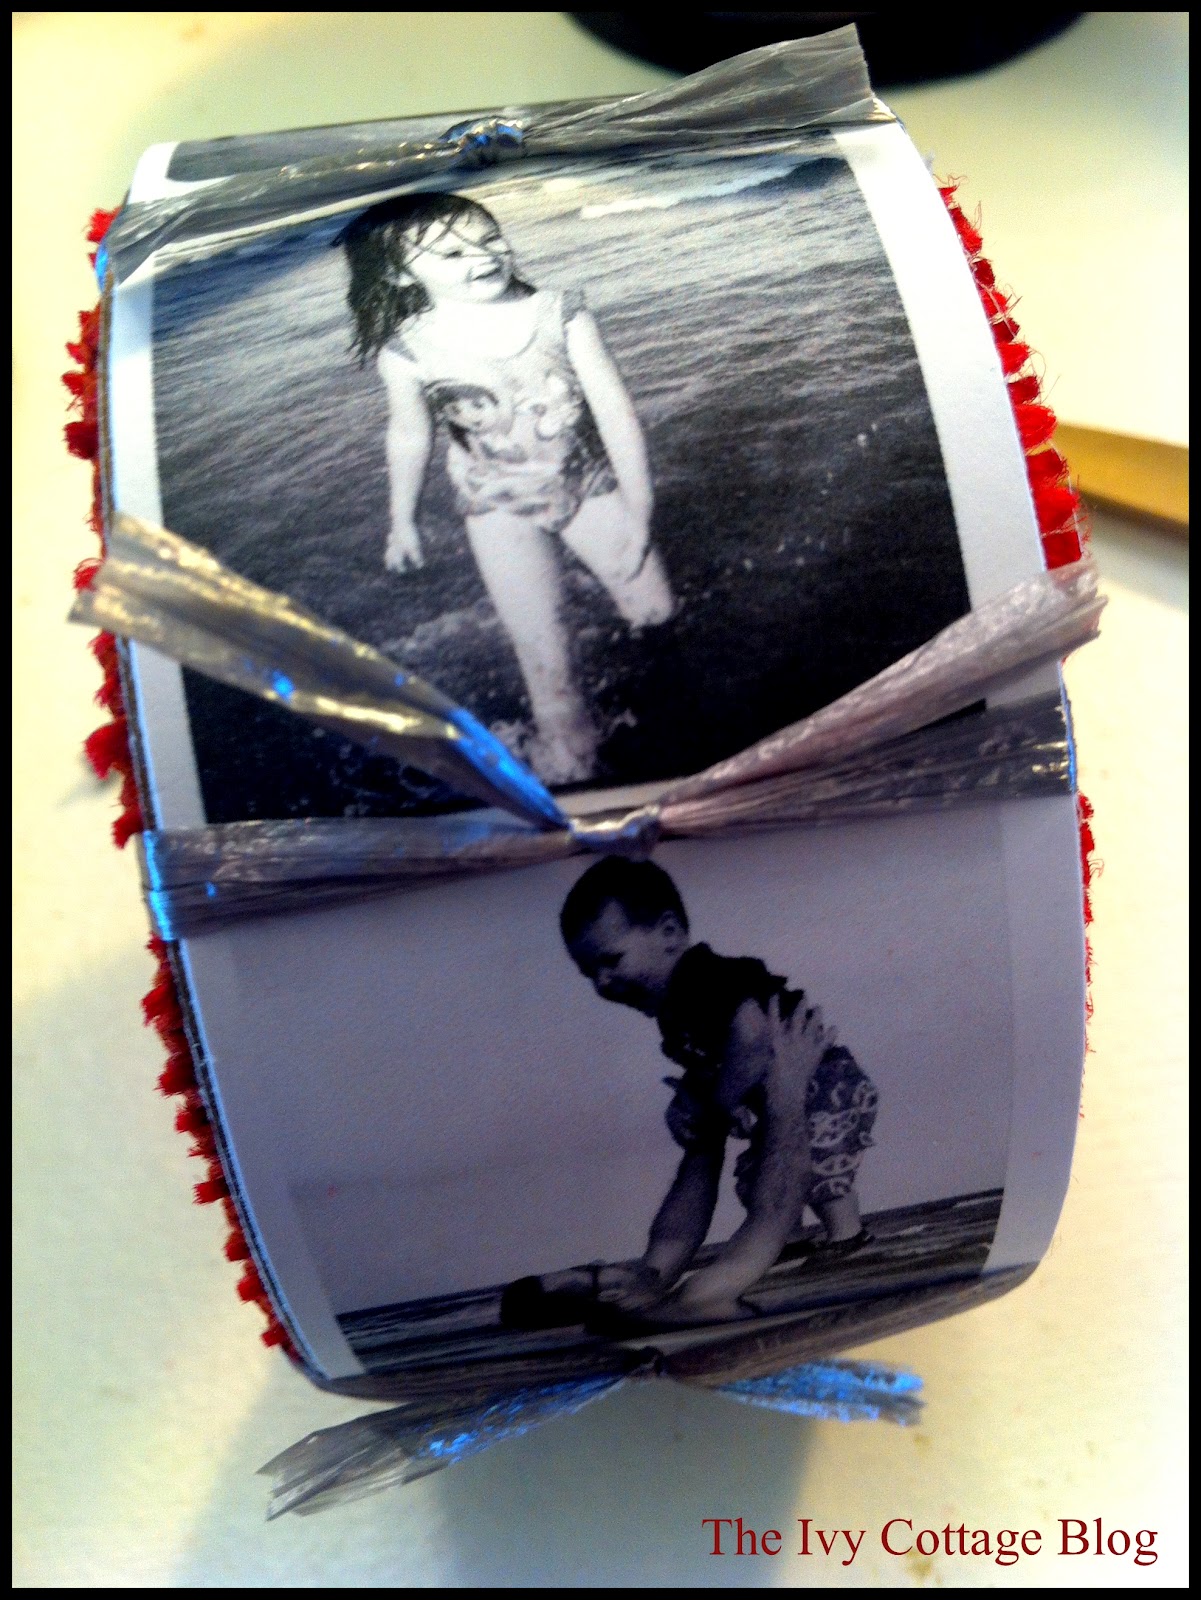
I also used the raffia to cover up the gap between the start and finish of the photos.

To cover up the edges of the spool, I used a little bit of glue and some vintage glitter by Martha Stewart to add a little pizazz.


Finally, I wrapped it up with a small red rhinestone on the center of each raffia bow and then added a twine "hook" to hang the ornament.

Voila! You are done!
And because I had so much fun and couldn't make just one . . . here is another example that used the same materials with a few additions!


And because I just couldn't get enough, here is another way to use the ribbon spools . . . Candle Holders and Candle Wraps! WOW!


I hope you enjoyed this simple little tutorial and I hope that you will try this out during these hot months of summer!
Stop by The Ivy Cottage Blog anytime and say hello . . . or in my case, Howdy! I have TONS of projects to inspire!
BTW, on our usual Tuesday Cowgirl Up! Link Party, you will have the opportunity to link up all of your old/new Christmas projects, so get them ready!
Good luck to all of the ladies participating and be sure to stop by and give them a little love as the week goes on!
No comments:
Post a Comment