
Hi, this is Korrie from Red Hen Home! This post is DAY 2 of the Christmas in July series I am participating in with all these talented ladies:

Christmas in July?? Whose crazy idea was THAT??
(I’m blaming Amanda.)
Honestly, I am not a person who plans that far in advance. My sights are always set on the next thing, so I can’t really concentrate on Christmas until Thanksgiving is over!
So my goal was to create a little Christmas without going to the store! Never-you-mind that Hobby Lobby is already putting out their Christmas stuff—I don’t want to encourage them!
So I decided to tackle a few items that have been swimming around in my head since last Christmas…hope you don’t mind that I’m seven months late (rather than five months early)!
I have a beautiful old buffet that I love to change with the seasons—since I don’t have a mantle! This is what it looked like on a recent hot July day, much to the confusion of my four-year-old daughter!

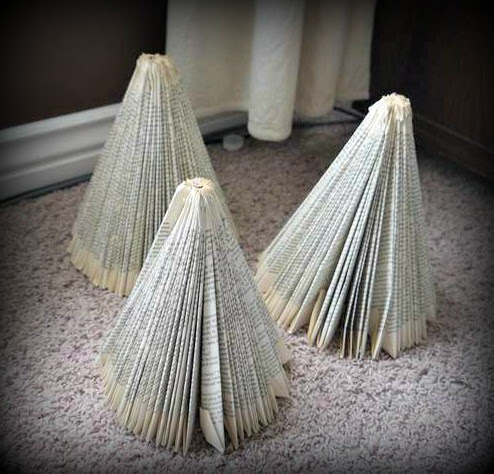
Last summer I turned some old books into birdhouses, and some commenters mentioned that they had seen book Christmas trees. I decided to give it a shot, and they were super simple to figure out and make on my own.

-
Fold the top corner of page to the spine.
-
Fold page to spine again.
-
Fold up “tail” at bottom of page even with bottom of book.
-
Repeat ad nauseum (that means…”until you’re nauseous”)
About 200 pages makes for a nice, fat tree. And I promise I won’t tell if sometimes you fold two pages at once!
Ta-da!
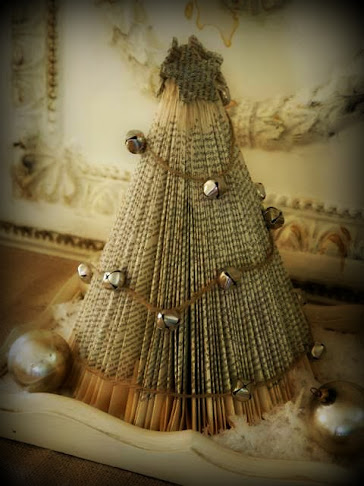
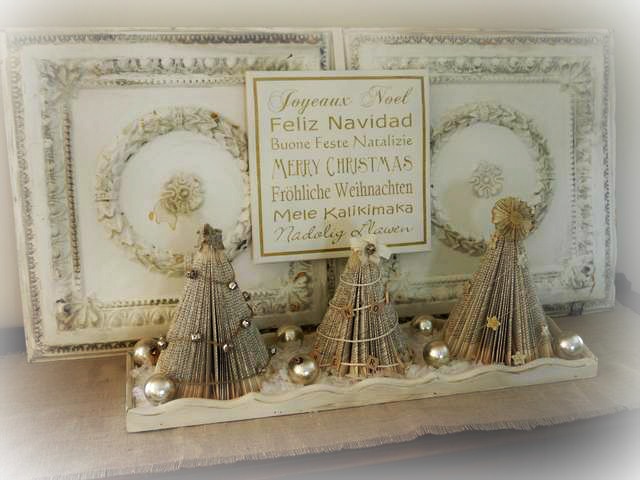
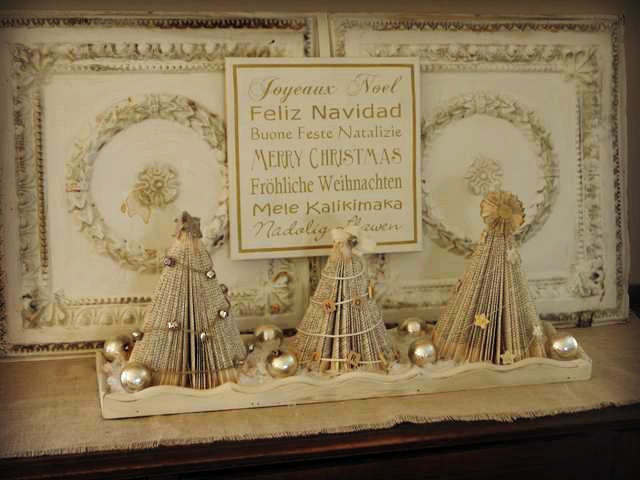
Hmm…they could use a little embellishment, don’t you think? They are supposed to be Christmas trees after all!
This one gets a garland of jingle bells strung on twine, and a book page star for the top…
…the next one gets a garland of cotton string and gold-glittered stars, topped with a book page medallion…

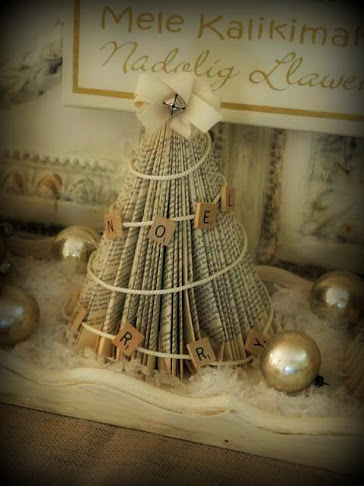
…and the last has a garland of cotton cording and Scrabble letters, topped by a seam-binding flower (yes, it’s my favorite)!
And of course, all of them were embellished with a little glitter along the edges. Everything looks better with glitter!

Last but not least, I had to add a little more typography! I had a 14” x 14” canvas on hand just waiting for some attention from me…
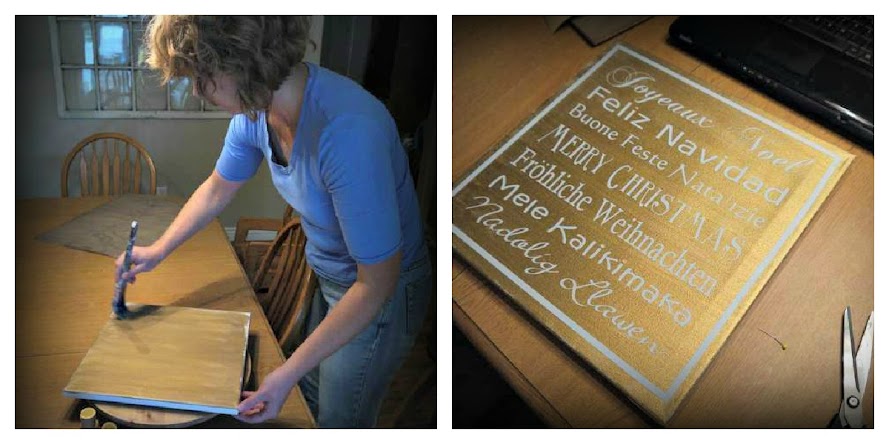
Using two shades of gold acrylic paint, I gave the canvas a nice base coat. I used my Silhouette to design and cut out vinyl “Merry Christmas” greetings in various languages, then I painted over the whole thing, removed the vinyl, and voila!

So there you have it! Put together with a few accessories I already hand on hand, it was a good excuse to take down the 4th of July décor 
Happy Summer, everyone!
I hope you will take the time to visit all the blogs participating in our Christmas in July party!

6 comments:
I love your Christmas tree creations. What a neat idea.
Just lovely and this could be a huge festive space transformation! I've also seen the book page pumpkins on Pinterest so I'm going to give thOse a shot for fall.
~Christina
I love theses! What a great idea and tutorial! Thanks; you've inspired me! I can't wait to try these- off to the thrift store for books!
Oh, My God!!!! They are ADORABLE!!!!
ANd thank you for showing how to make them!!!
Cute, cute, cute!!!
Oh so CLEVER and they look AWESOME!!
Very clever...need to pin this one!
Blessings,
Linda
Post a Comment